One of the main elements of Hanukkah is the miracle of the oil: only one day's supply was available, yet it burned for eight days. In recognition of this, foods fried in oil are common in Jewish homes during the holiday.
Potato Latkes
Diverging from that tradition in the interests of health, these latkes are baked in the oven instead of fried in oil. We've found it best to use a smooth cooking sheet, not grooved, as the additional surface contact seems to help the latkes hold together.

Ingredients
- 4 large potatoes (about 10 oz each)
- 1/2 small chopped onion
- 1 egg or 1/4 Cup egg substitute
- 1/4 Cup matzo meal
- Minced garlic to taste (optional)
- 1 tsp salt
- 1/4 tsp black pepper
- Cooking spray
Directions
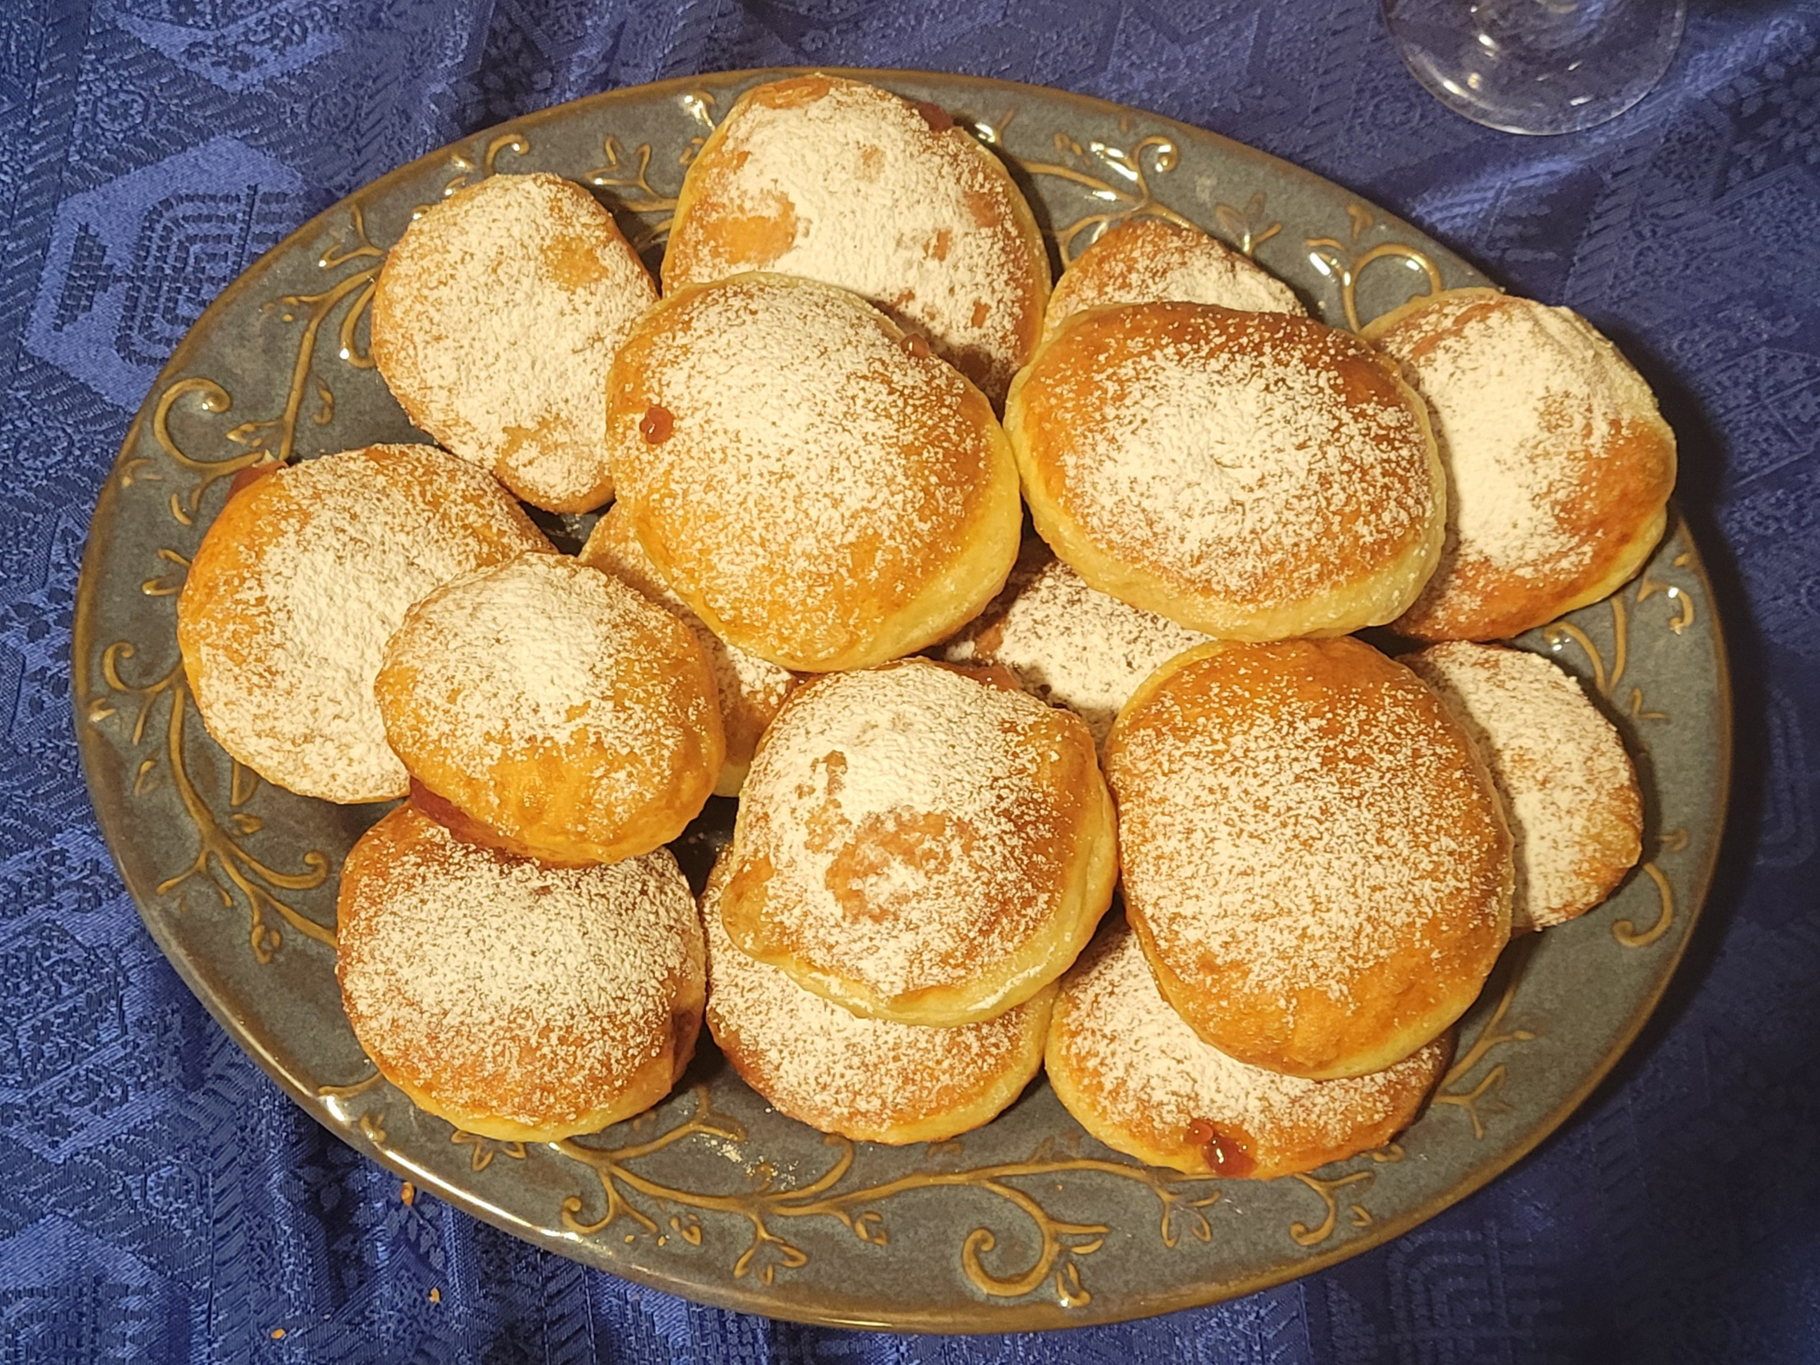
Sufganyot
- In a large bowl, combine egg (or egg substitute), matzo meal, onion, garlic (optional), salt and pepper.
- Grate the potatoes. Squeeze out any excess moisture. Combine with the egg mixture. (Note: Do not grate potatoes ahead of time.)
- Pre-heat oven to 400°F. Coat baking sheet with cooking spray. Place twelve 1/4 cups of latke mixture on sheet and flatten; coat with cooking spray. Bake until pancakes are crisp, 30 minutes, turning over after 15 minutes.
- Serve with sour cream, apple sauce, or try some with each.
These little jelly doughnuts take some effort, but they are totally worth it and make for a special treat. Don't sprinkle the powdered sugar on them until just before serving, though, or it will be absorbed by the doughnut and disappear.

Ingredients
Ingredients
- 2 cups all-purpose flour, plus more for dusting the baking sheet and rolling out the dough
- 1/4 cup granulated sugar
- 1 (1/4-ounce) packet active dry yeast (2 1/4 teaspoons)
- 1/2 teaspoon fine salt
- 2 large egg yolks
- 3/4 cup warm whole milk (105°F to 115°F)
- 2 tablespoons unsalted butter (1/4 stick), at room temperature
- 6 cups (1 1/2 quarts) vegetable or canola oil, for frying, plus more for coating the bowl
- 2/3 cup smooth jam or jelly
- Powdered sugar, for dusting
Special Equipment
Instructions
These treats aren't restricted just to Hanukkah; they can be made any time of year to add a little brightness when needed.
Happy Holidays and bon appetit!
- 2-inch round cutter
- If none are available, a drinking glass of the same size can be used
- a candy/fat thermometer
- a 12- to 18-inch pastry bag fitted with a 1/4-inch round tip to fill the donuts.
- Place the flour, sugar, yeast, and salt in the bowl of a stand mixer and whisk to combine. Add the yolks and milk and mix, using the hook attachment, on low speed until a shaggy dough forms (about 1 minute). Add the butter, increase the speed to medium, and mix until the dough is smooth, shiny, and elastic, about 5 minutes.
- Coat a large bowl with oil. Form the dough into a ball, place in the bowl, and turn to coat in the oil. Cover with plastic wrap or a damp towel and let rise in a warm place until doubled in size (about 1 to 1 1/2 hours).
- Lightly flour a baking sheet; set aside. Punch down the dough, transfer to a lightly floured work surface, and roll until about 1/4 inch thick. Using a 2-inch round cutter, stamp out as many dough rounds as possible and place on the prepared baking sheet about 1/2 inch apart. Gather the dough scraps into a ball and roll out again, stamping rounds until you have 30 total on the baking sheet. Cover loosely with plastic wrap or a damp towel. Let rise in a warm place until puffy and about 1/2 inch thick, about 30 minutes.
- Place the vegetable or canola oil in a Dutch oven or a large, heavy-bottomed pot and set over medium heat until the temperature reaches 350°F on a candy/fat thermometer. Meanwhile, line a second baking sheet with paper towels and place a wire rack over the paper towels; set aside. Place the jam or jelly in a piping bag fitted with a 1/4-inch round tip; set aside.
- Using a flat spatula carefully transfer the dough rounds, one at a time, into the oil. Fry about 6 at a time, leaving at least 1 inch of space in between and keeping the oil temperature at 350°F. Adjust the stove’s heat as necessary to maintain a constant temperature. Fry until the bottoms are golden brown (about 1 1/2 minutes). Carefully flip with a fork and fry until the second side is golden brown (about 1 1/2 minutes more.) If air bubbles appear in the donuts, pierce with the tip of a paring knife. Remove with a slotted spoon to the wire rack. Repeat with the remaining dough rounds.
- When the donuts are cool enough to handle, use a paring knife to puncture the side of each to form a pocket in the center. Place the tip of the piping bag into the pocket and pipe about 1 teaspoon of jam or jelly inside. Dust with powdered sugar before serving.
These treats aren't restricted just to Hanukkah; they can be made any time of year to add a little brightness when needed.
Happy Holidays and bon appetit!