
by Weer'd Beard

Weer'd (that's how he spells his name) is a member of our Facebook Group and has written for us before.
If you've spent any amount of time baking bread, you have likely read or heard about sourdough bread and the substance known as a "starter". So what is a sourdough starter?
Put simply, it's a colony of wild yeast and bacteria raised in a medium of flour and water, and any bread product leavened with this mixture (as opposed to commercial yeast) can be considered a sourdough bread.
Why is this relevant for preppers?
- The biggest reason is that bread is a staple in most cultures around the world, and yeast is a requirement for a majority of these breads. As we saw in the 2020 COVID-19 Pandemic, disruptions to the labor force and supply chain, plus a massive interest in hobby baking, meant that commercial yeast vanished from store shelves. There's no reason why this might not happen again.
- As you'll see in this article, making sourdough is very easy. Even if you decide that keeping a starter in your kitchen isn't for you, after you've learned the techniques I'm going to teach there's nothing stopping you from doing it in the future if you ever change your mind.
- One component of the starter culture is yeast, but the other is the bacteria Lactobacillus which consumes the starches in your flour and produces carbon dioxide (which is our leavening gas) and lactic acid. The acidity of this starter is the "sour" in sourdough, but this acidity also has anti-fungal properties. This means that products leavened with sourdough starter will be less likely to grow mold than products made with commercial yeast.
- A standard loaf of bread has just four ingredients: flour, water, salt, and yeast. Of all those ingredients, yeast has the shortest shelf-life, and even frozen commercial yeast will expire and die.
- Eating bread baked at home is going to be better for your health than eating store-bought bread, because there will be no need for the additives and preservatives that keep bread soft and fresh.
For reference, I relied heavily on this video and this website.
Growing a Sourdough Starter
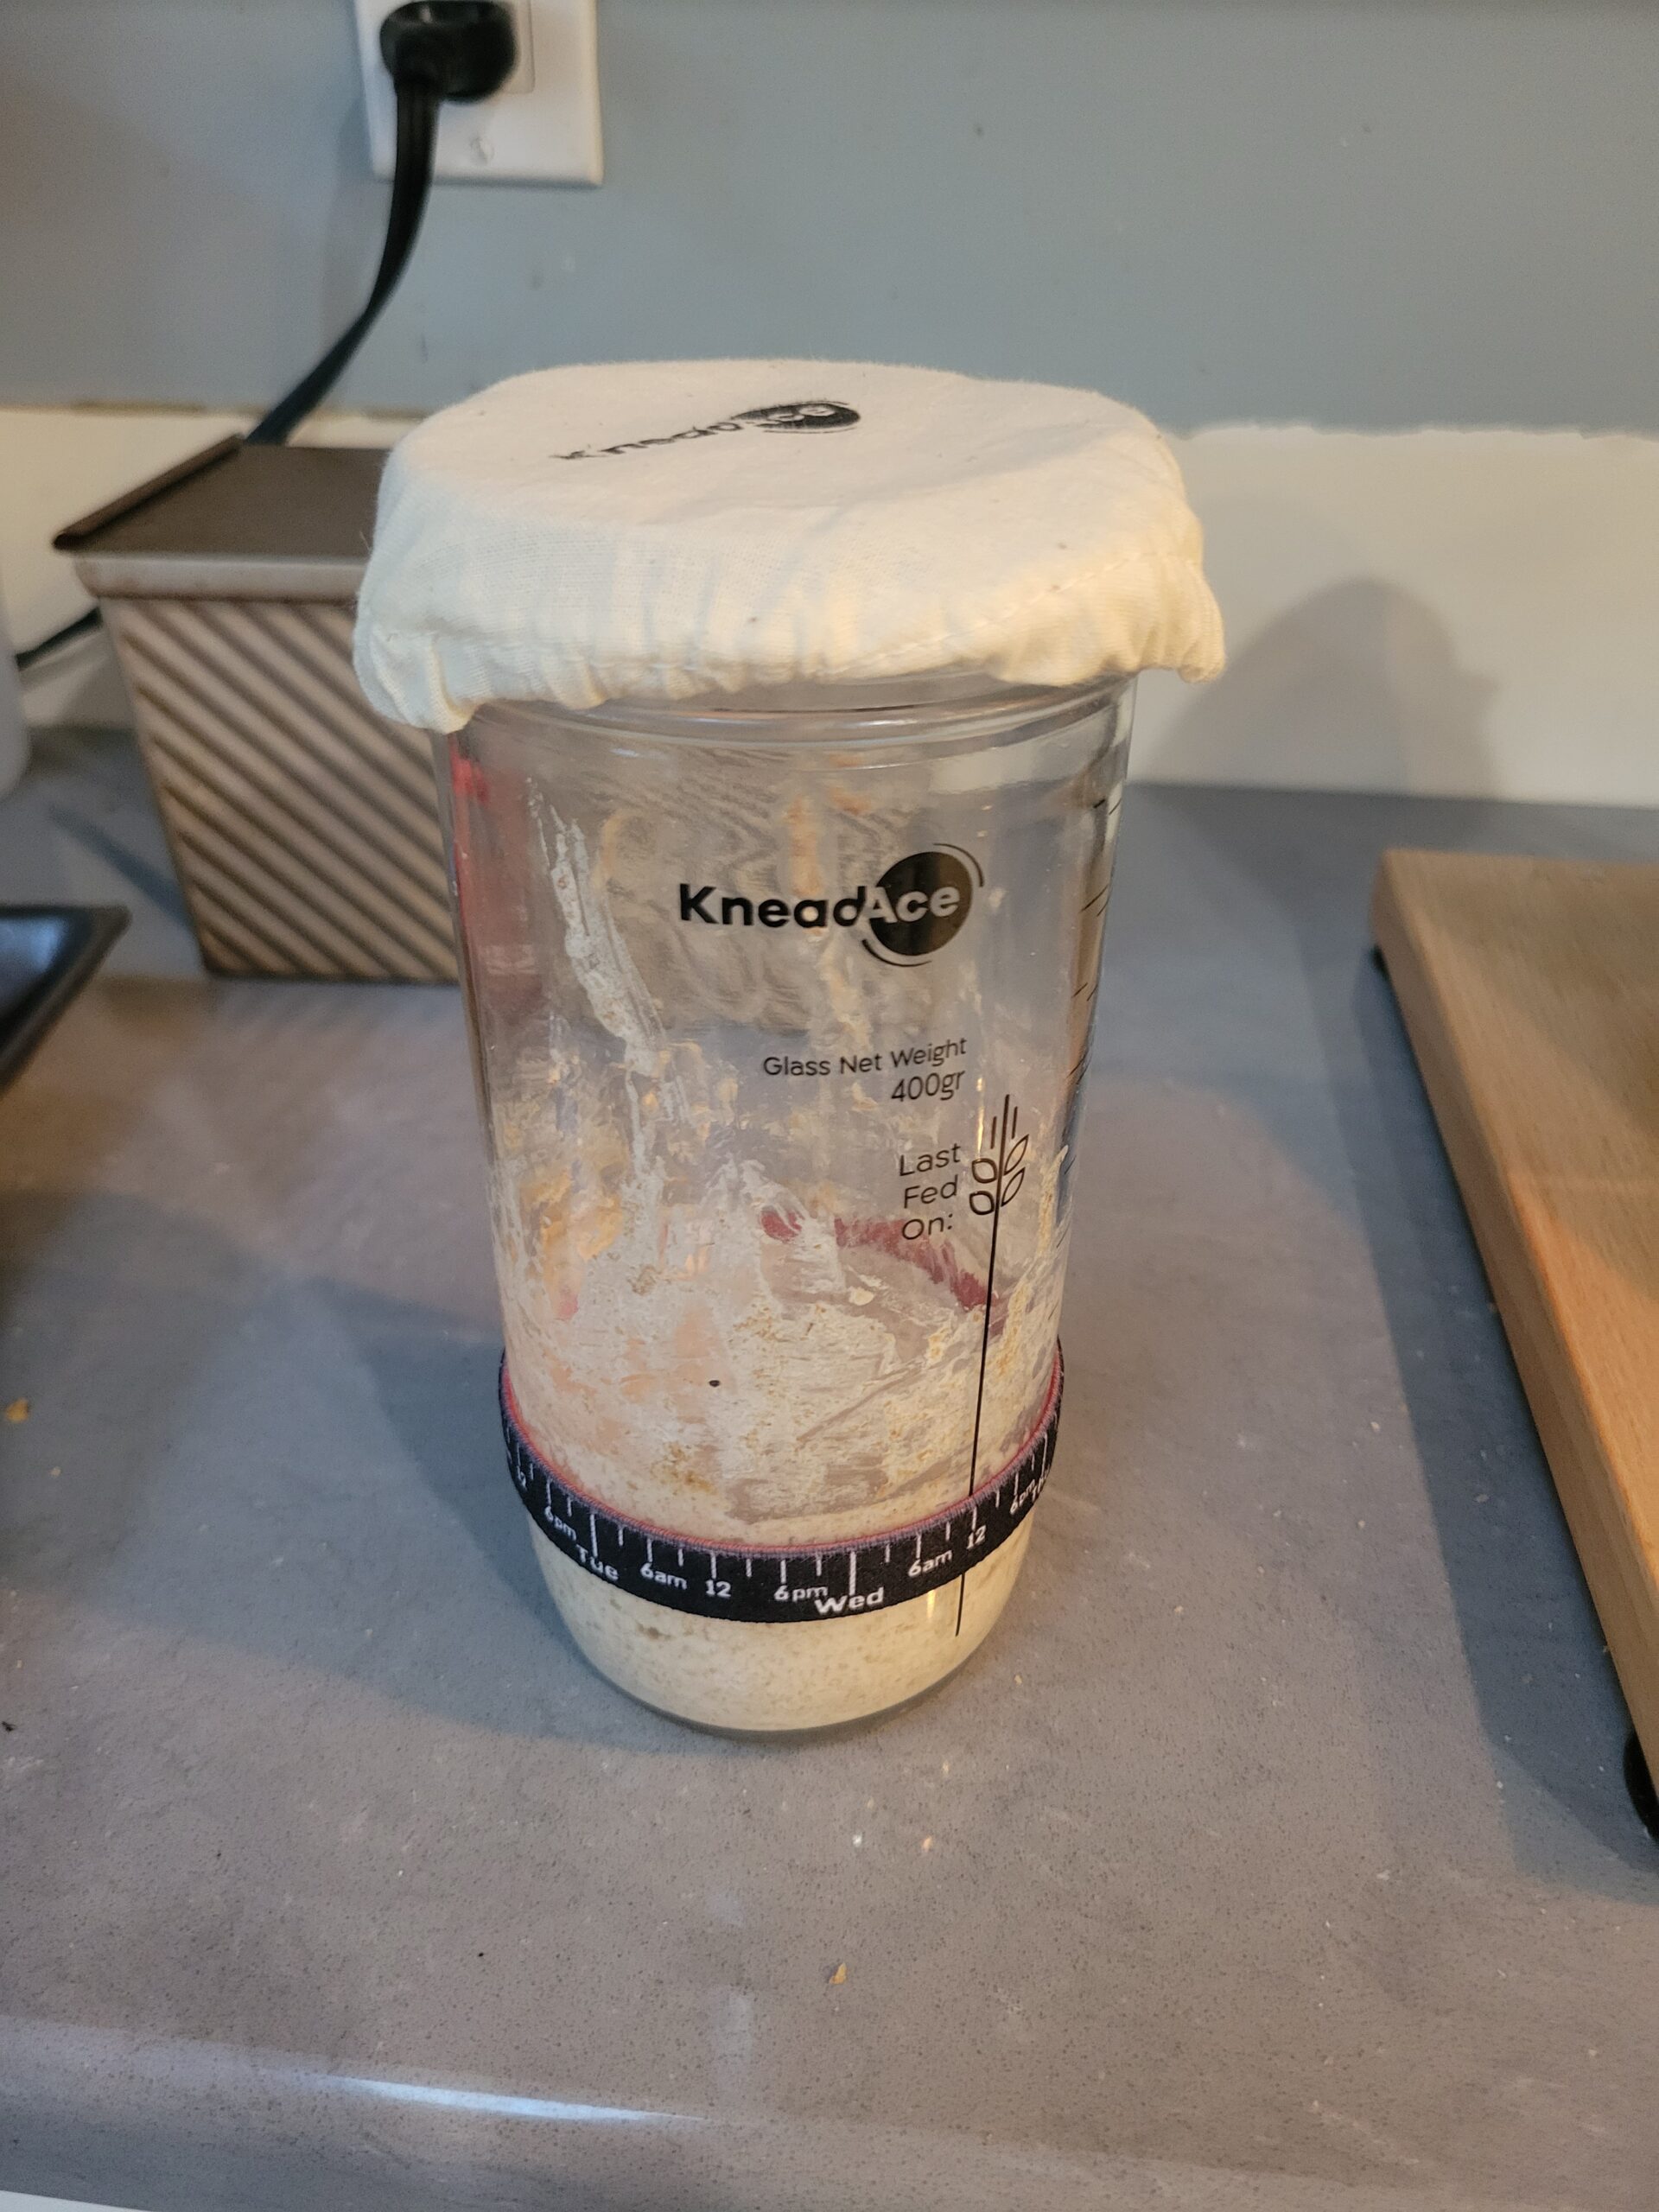
First, you'll need a container. I panic-bought a bunch of commercial yeast during the pandemic and I was worried it would die, so I ended up spending a lot of time talking about sourdough before I actually started making it.
Because of that, my wife bought me this kit, which is nice but honestly not necessary. You'll be fine with any glass container that has a wide mouth and relatively straight sides, so a drinking glass, a pickle or tomato sauce jar, a canning jar, etc. and a paper towel, a piece of cloth or a clean rag secured with a rubber band or twine is just fine. (Also, remember to save the cap if you re-purpose a jar. I'll explain why later.)
After you thoroughly clean and rinse your container, add about two tablespoons of flour and two tablespoons of water to the bottom of the jar and mix them well. For this initial phase I suggest that you use water that's been de-chlorinated (well water, bottled water, or water that has been boiled but then allowed to cool to room temperature) and whole wheat flour. This will likely work with tap water and AP flour, but whole wheat and chlorine-free water will give the wild microbes a bit of an advantage to start out.
Keep the jar someplace warm but sheltered from sunlight. If you have a place where you keep your fresh fruits or vegetables on the counter, that would be ideal. Fruits and vegetables will also have wild yeast growing on them, so in theory the air around these will have more spores and will foster growth.
After 24 hours, give it a good mix and scoop out about half the material (about 1 tablespoon) and replace it with an additional tablespoon of fresh flour and water. Give it another good mix and scrape down the sides as best you can. The fresh flour and water will give the microbes fresh nutrients to grow, and by removing half the material you're giving better odds that the microbes you end up growing will be the right kind. The scraping isn't necessary for the starter's survival, but once flour and water dry they turns into library paste and will make a mess and make it harder to see the progress, so this is more of a quality of life kind of thing.
Every day for a week you'll want to do the same thing: mix, discard, add, mix, scrape. By about day three or four you'll start seeing bubbles and activity. At this point you should start smelling the mixture before you discard half.

You see, we co-evolved with these microbes, and the waste products of these critters (lactic acid for the Lactobacillus and ethanol for the yeast) are not only chemicals that are safe for humans to consume, they are also lethal to many bacteria and fungi that might make us sick. Because of this you will likely start noticing a pleasant smell coming from the mixture, and what it smells like will vary from house to house and may change over time.
When my starter first started, the smell reminded me of stale beer. This summer, it took on a scent more like overripe fruit. Now that the weather has gone cold, the smell reminds me more of a really nice aged cheddar. My buddy who lives in the next town has a starter that smells more like an aged Parmesan cheese.
My point is that the smells coming from this should be invoking scents that remind you of foods or drinks, not of unpleasant objects like a wet dog, dirty feet, or dirty laundry. In the event that your mixture starts smelling foul, don't give up yet. Keep dividing and feeding it for another week and see if things improve, as there's a good chance the yeast and lactobacilli will crowd out whatever nasty critters have taken up residence.
After your first week you should start seeing noticeable activity in your jar, and you can start feeding it twice a day. Once a starter has been sitting for a few hours, it starts developing a foamy top layer with a layer of liquid over the less active bottom layer.

I like to think of that line as a "fuel gauge". When a starter is freshly fed that line of liquid will be evenly distributed, but after a while a well-fed starter will be mostly foam with a small line of liquid near the bottom. When you see this line, stir it up so that the top doesn't dry out and form a crust and see where the next line forms.
If a head doesn't form and the liquid rises to the top, then the bulk of the starches have been consumed and the starter is ready to be fed again.

After about 10-14 days your starter should be very active when fed and have a pleasant smell. Once this happens you can start maintaining it, and a well-maintained starter should rarely need to be discarded.
Maintaining Established Starters
Now you can start gaining volume if you need it; just remember to feed at least roughly half the volume in the jar of flour and water. You can also switch to tap water and AP flour if you desire (I use tap water, but I still use whole wheat starter because I feel it's better for the microbes and a small amount of whole wheat flour makes for a better bread).
Always remember to leave plenty of space at the top of the jar, because it will expand as the microbes consume the starches!
If you have a good volume of starter and you think it'll be a few days before you need it, you can cover it with the solid lid and put it in the fridge for up to a week.
Using Your Starter
The easiest answer is to look up sourdough bread recipes and follow those, but you can also convert existing recipes to sourdough by adding a volume of starter instead of the yeast, and then subtracting that volume of flour and water equivalent to that volume of starter. The standard rule of thumb is "1 cup of starter is equal to one packet of yeast (which is a little more than 2 teaspoons of active dry yeast) then subtract one cup of flour, and one cup of water."
This conversion will require longer rise times because wild yeast isn't a race horse bred for speed like commercial yeast is. Because of this, I prefer using less yeast and taking a longer time.
Here are two recipes to try out.
Whole Wheat Sourdough Sandwich Bread
This is a conversion from the bread found here.
In a bowl, add:
- 1/4 cup whole wheat sourdough starter
- 1/4 cup whole wheat flour
- 3 cups AP flour
- 2 tsp salt
- 2 cups water
- Mix well to combine, then give the dough at least 8 hours to rise.
- Once risen, pour into a greased loaf pan and allow to proof until it's close to the top of your pan (note that the rise time won't be too different between starter and conventional yeast, but the proof time will be at doubled at the very least, depending on the air temperature).
- Place proofed dough in 450 degree oven for 30 mins. Then take loaf out of the pan and allow it to cool on a rack before cutting.
Since these crackers use no oil, and the sourdough starter has lowered the PH of the cracker they will keep for a very long time in an airtight container.
- 1/4 cup sourdough starter
- 2 cups AP flour
- 1 tsp salt
- 2/3 cup cold water
- Combine all ingredients in a bowl. Dough should be soft but not sticky. Let rise at least 8 hours.
- Give dough a quick knead until smooth, then turn out onto a floured surface (divide dough into manageable pieces) and roll out into a rectangle approximately 1/8".
- Salt the surface and roll the salt in, adding other seeds or spices if desired.
- Take a fork and prick the surface evenly. If you skip this step the crackers will puff up like oyster crackers, which isn't a bad thing.
- Cut to size using a pizza cutter or a sharp knife.
- Place pieces on a baking sheet, making sure they have a little space between each cracker, and put into a 400 degree oven for about 10-15 mins. Watch closely because once the crackers start to lightly toast they are done, but they will go from toasted to burnt very quickly.
You can double this recipe just by doubling the flour, water, and salt, and keeping the same amount of starter.
Tips for Managing Sourdough
If you happen to use up all your starter while baking, simply add more flour and water to the dirty container. There are enough microbes remaining to completely revive the starter.
Once your starter is established, I recommend freezing at least a cup's worth. In the freezer, a starter will last at least one year with no maintenance. To use simply thaw it, feed it as soon as it becomes liquid, and it's ready to use as soon as it's frothy and active again.
To make a large batch of starter you can just put a small amount of starter in a bowl and simply put equal parts flour and water in and give it a good stir. It'll be all starter by the next day.
I hope you found this guide useful and can see the advantages of knowing how to make and use sourdough starter as a prepper resource!

Our sourdough starter up whose name is "Sammy" has been part of the family for years. He has his own special "King Aurther crock where live in the fridge. We took him out yesterday and baked a loaf today. Then we feed him and put in back in the fridge tomorrow.
ReplyDelete